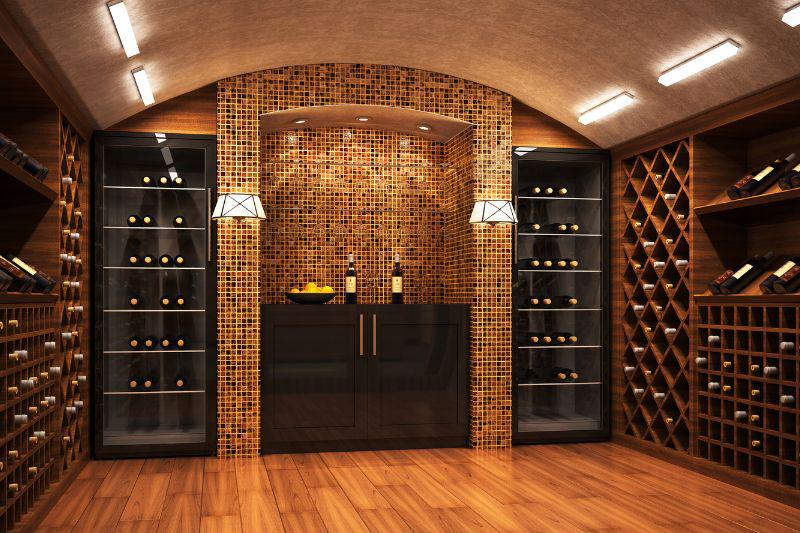
Isn't it a dream to have your wine cellar? Keep reading to learn how general contractors can turn your basement into the wine loft of your dreams.

By Samantha Paige
A wine cellar is an excellent addition to your home. It improves the home’s value and creates a space where you can show off your wine collection, entertain your guests, and relax with a glass of wine. If you’re thinking about adding a wine cellar to your home, here’s how to build a wine cellar in your basement to help you understand the hard work that goes into this luxurious addition.
What Do You for A Wine Cellar?
Before building your wine cellar, you should ensure that you hire someone trustworthy who knows exactly what they’re doing. If your contractor skips a step or buys the wrong materials, it could comprise your expensive wine collection. It’s important to review and consider specific construction materials to ensure your wine cellar is safe and secure. To have a good wine cellar, your basement should:
- Have a constant temperature between 45-65 degrees Fahrenheit.
- Be in a room free of smells, vibrations, and natural light.
- Contain proper bottle racks or storage.
- Have humidity levels between 50-70 percent.
Check The Room for Repairs
If you want a wine cellar, you and your contractor should survey the basement and check for possible repairs or air leaks. You want the space to be airtight or hermetically sealed. It could ruin your wine if you don’t check your room for temperature and other environmental factors.
Seal Your Concrete Floors
When building a wine cellar in your basement, you want to ensure that your floors are concrete and free of wood or rugs because those materials are porous. Concrete is your best option because when properly sealed, it can help keep the cool temperature and humidity in the room. This process generally takes 28 days.
Furr-Out and Frame Your Walls and Ceiling
Furring out a wall is the process of installing strips of wood to higher surfaces to help prevent dampness. When framing your walls, you should use 2x6 framing lumber to create the perfect space for insulation while being energy efficient.
After furring out and framing the walls, insulation is added to ensure the humidity and temperature are controlled. Since your cellar has high humidity levels, you must install water-resistant drywall.
Add A Proper Cellar Door
You can choose an extravagant cellar door closer to the finishing touches. Choosing a door designed for wine cellar use or an exterior-grade entry is best. The goal is to find a door that can seal your wine cellar properly.
Finish Your Walls
Your choice of wall finish should show your personal touch and desired aesthetic while resisting temperature control. After installing drywall, you can use any wall treatment like:
- Brick
- Tile
- Wood
- Faux or Real stone
Install a Cooling System
Once you’ve added your finishing touches, you should install a cooling system. This machine will help keep your cellar cool and steady your humidity levels. No matter the size of your basement, you should purchase a larger plan to save money on your electric bill so that the system won’t overwork itself.


COMMENTS